1. Create an API client in CrowdStrike Falcon
In the CrowdStrike Falcon console, create a new API client with the following scopes:- Hosts: Read
- Real Time Response: Read
What Oso does with this access
Oso uses read-only access to scan endpoints for installed AI agent software. Nothing is written to or modified on your hosts or in CrowdStrike.2. Connect CrowdStrike in Oso
In Oso, with Oso for Agents selected in the product switcher, open Connections from the sidebar and scroll to the EDR section.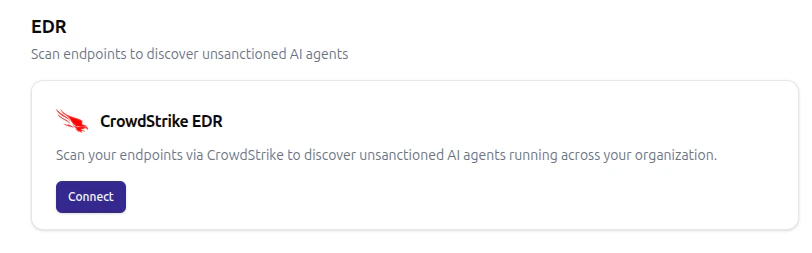

| Field | Description |
|---|---|
| Display Name (optional) | A label for this integration, useful when more than one CrowdStrike tenant is connected. |
| Client ID | The API client ID from step 1. |
| Client Secret | The API client secret from step 1. |
| Cloud Region | Must match the CrowdStrike cloud where the API client was created. |
| Host Filter (optional) | A Falcon Query Language expression that limits which hosts are scanned. Leave blank to scan every host the API client can see. |
3. Restrict scope with a host filter (optional)
The host filter is applied during the seeding phase of every scan and supports any FQL expression that CrowdStrike’s/devices/queries/devices/v1 endpoint accepts. Examples:
platform_name:'Windows'+hostname:'prod-*'— Windows hosts whose hostname starts withprod-platform_name:'Mac'— macOS hosts onlytags:'SensorGroupingTags/managed-fleet'— hosts tagged in CrowdStrike
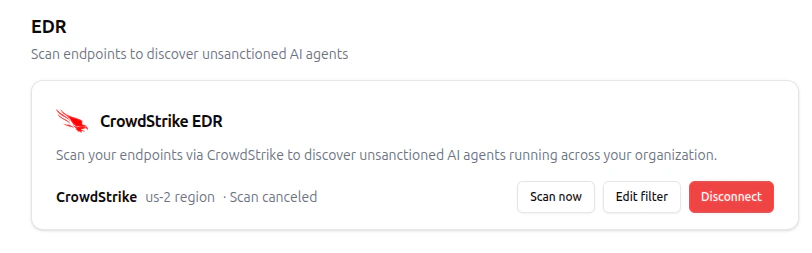
4. Run a scan
The first scan starts shortly after the integration is connected. After that, Oso re-scans every 12 hours, and a scan can be triggered on demand at any time using the Scan now button on the EDR card. During a scan, Oso enumerates hosts matching the filter, opens a Real Time Response session on each one, and runs read-only commands to inspect installed software.