> ## Documentation Index
> Fetch the complete documentation index at: https://www.osohq.com/docs/llms.txt
> Use this file to discover all available pages before exploring further.
# Okta
Connect your Okta organization to author policies that apply to particular users and groups. Oso authenticates to Okta's API via an OAuth API Services App.
This guide details the process of setting up an API Services app within your Okta organization and connecting it to Oso.
## 1. Create an API Services app
In the Sidebar, click **Applications > Applications** then click **Create App Integration** and select **Service App**
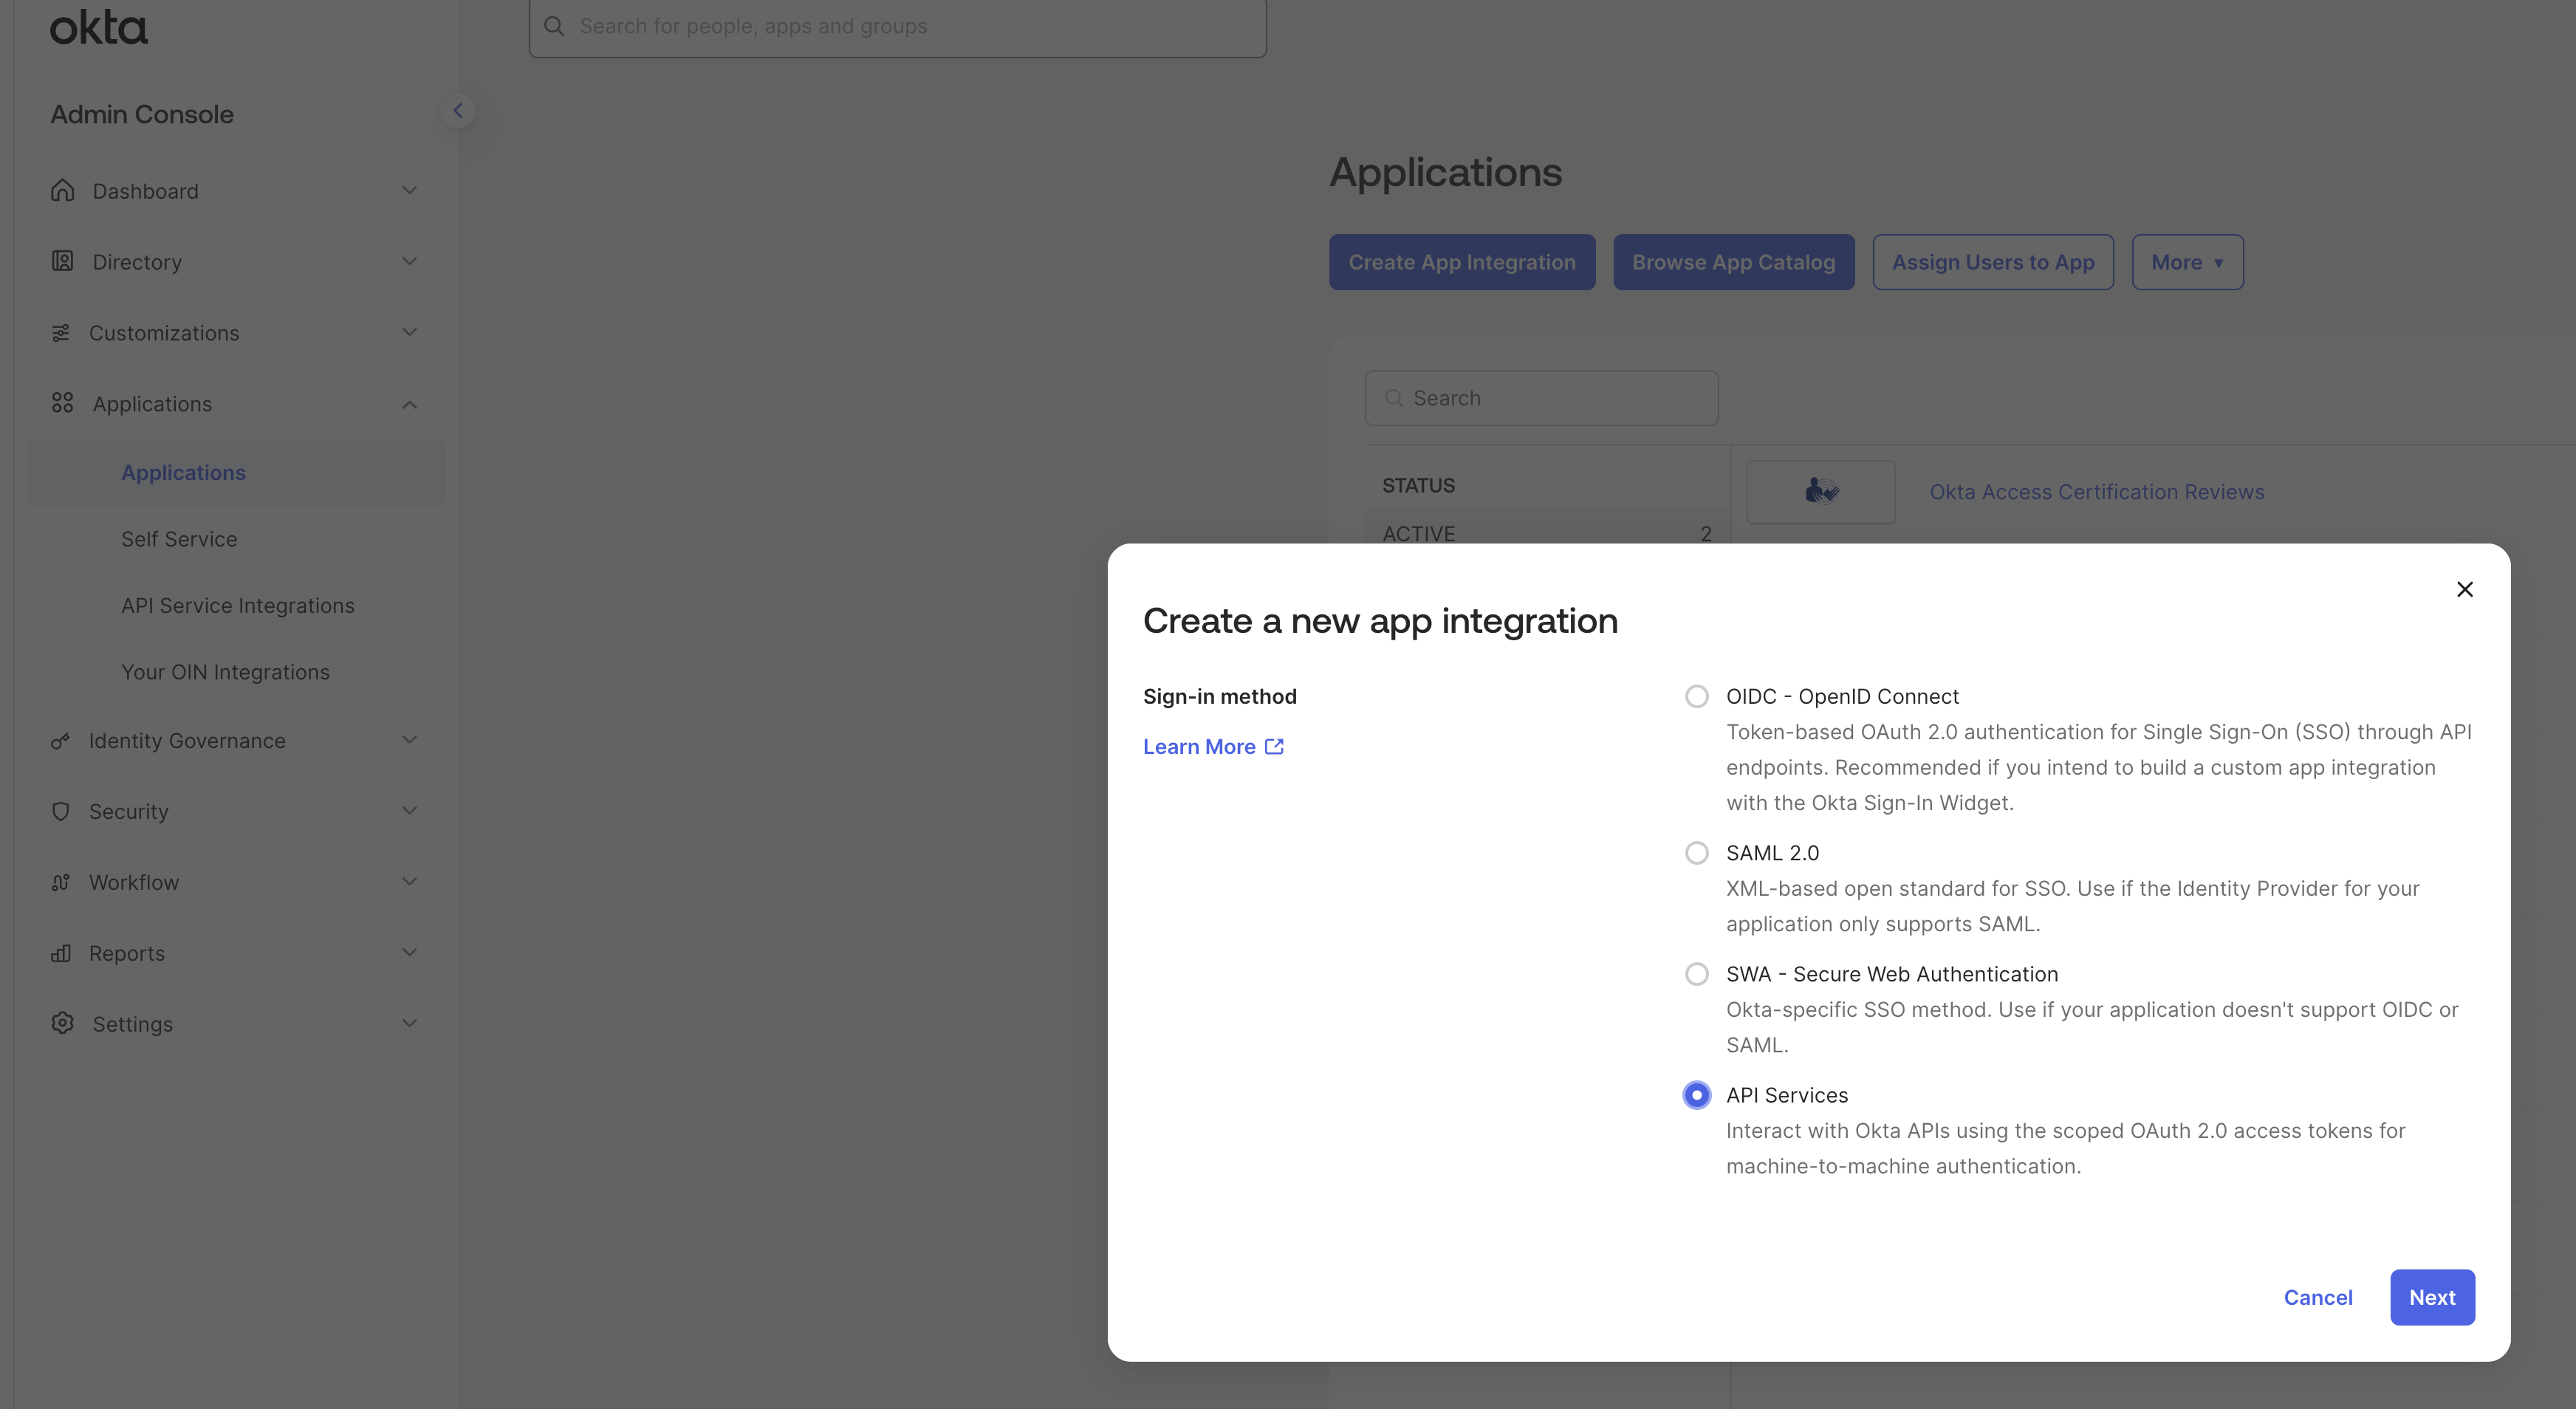 Give the app a meaningful name, like Oso OAuth App.
## 2. Register the public key
On the app's **General** tab, click **Add key** and paste the **Oso public key** from the Connect dialog (see the video above). Under **Client Credentials**, set **Client authentication** to **Public key / Private key**. **Click Save**.
## 3. Turn off DPoP
Oso uses `private_key_jwt`, not DPoP, to sign token requests. So you must disable DPoP in your OAuth App.
Give the app a meaningful name, like Oso OAuth App.
## 2. Register the public key
On the app's **General** tab, click **Add key** and paste the **Oso public key** from the Connect dialog (see the video above). Under **Client Credentials**, set **Client authentication** to **Public key / Private key**. **Click Save**.
## 3. Turn off DPoP
Oso uses `private_key_jwt`, not DPoP, to sign token requests. So you must disable DPoP in your OAuth App.
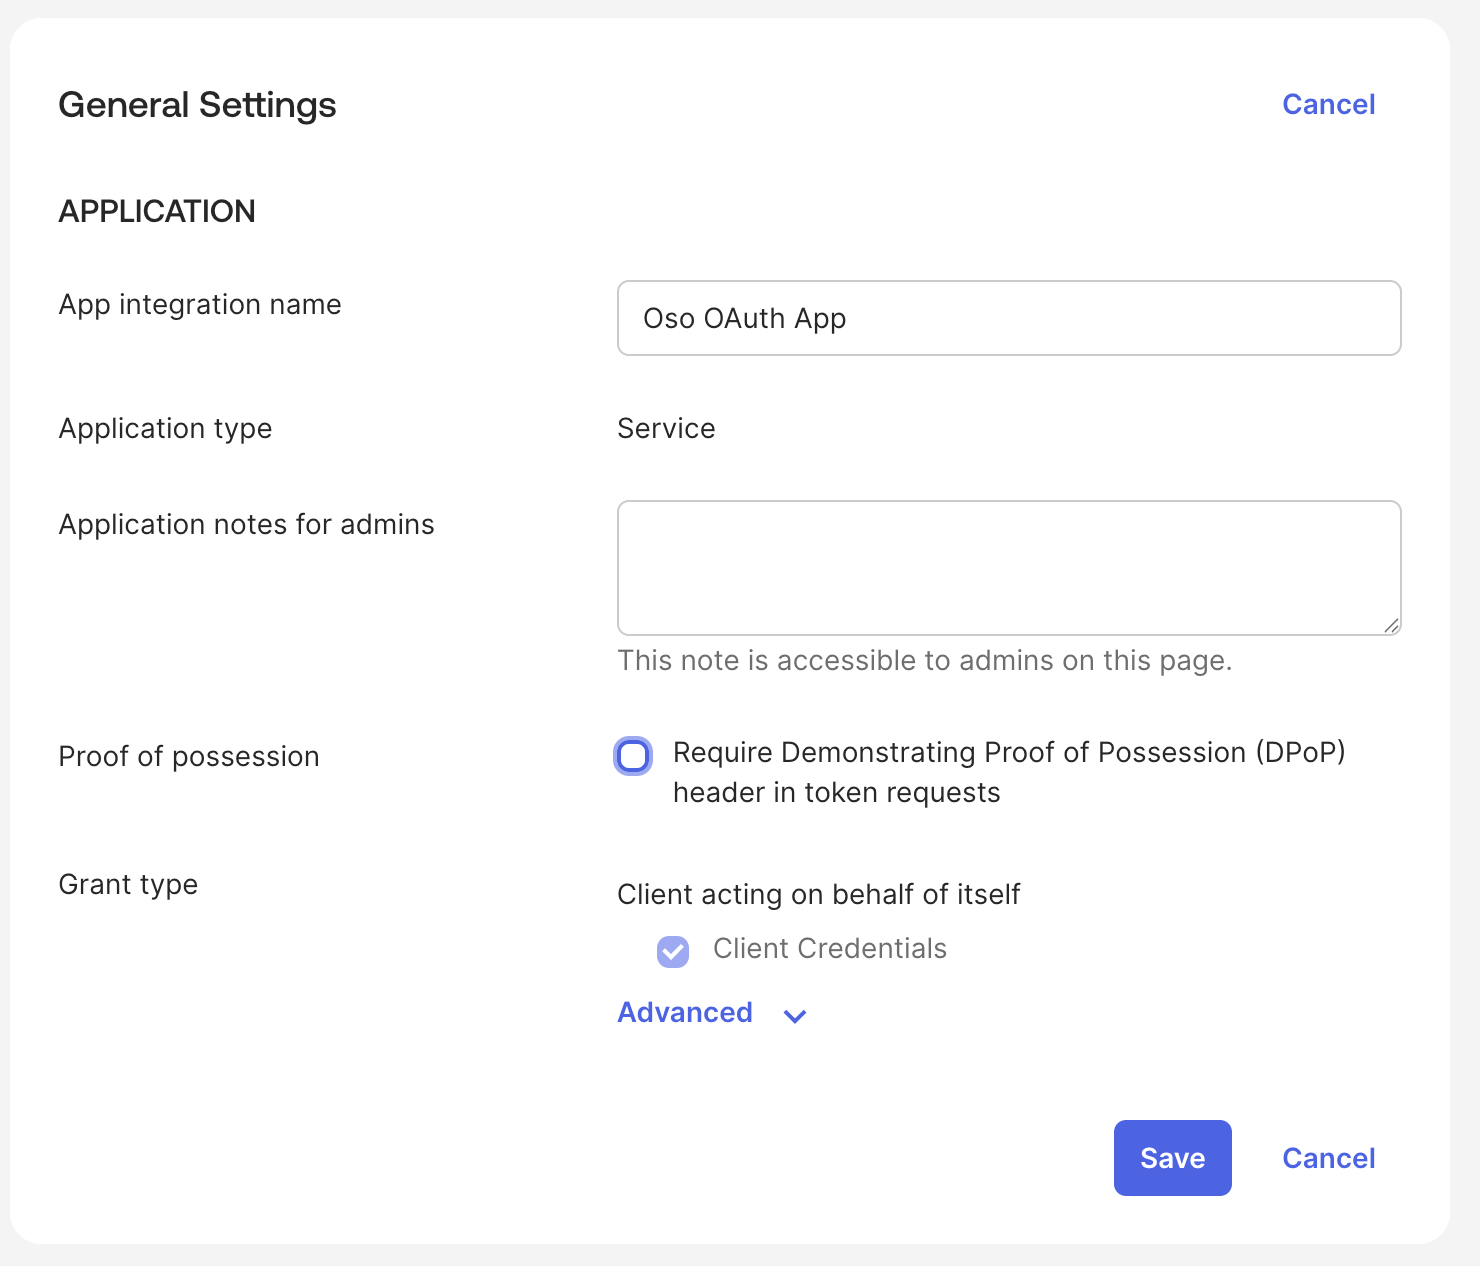
In the **General Settings** section, make sure **Require Demonstrating Proof of Possession (DPoP) header in token requests** is **unchecked**.
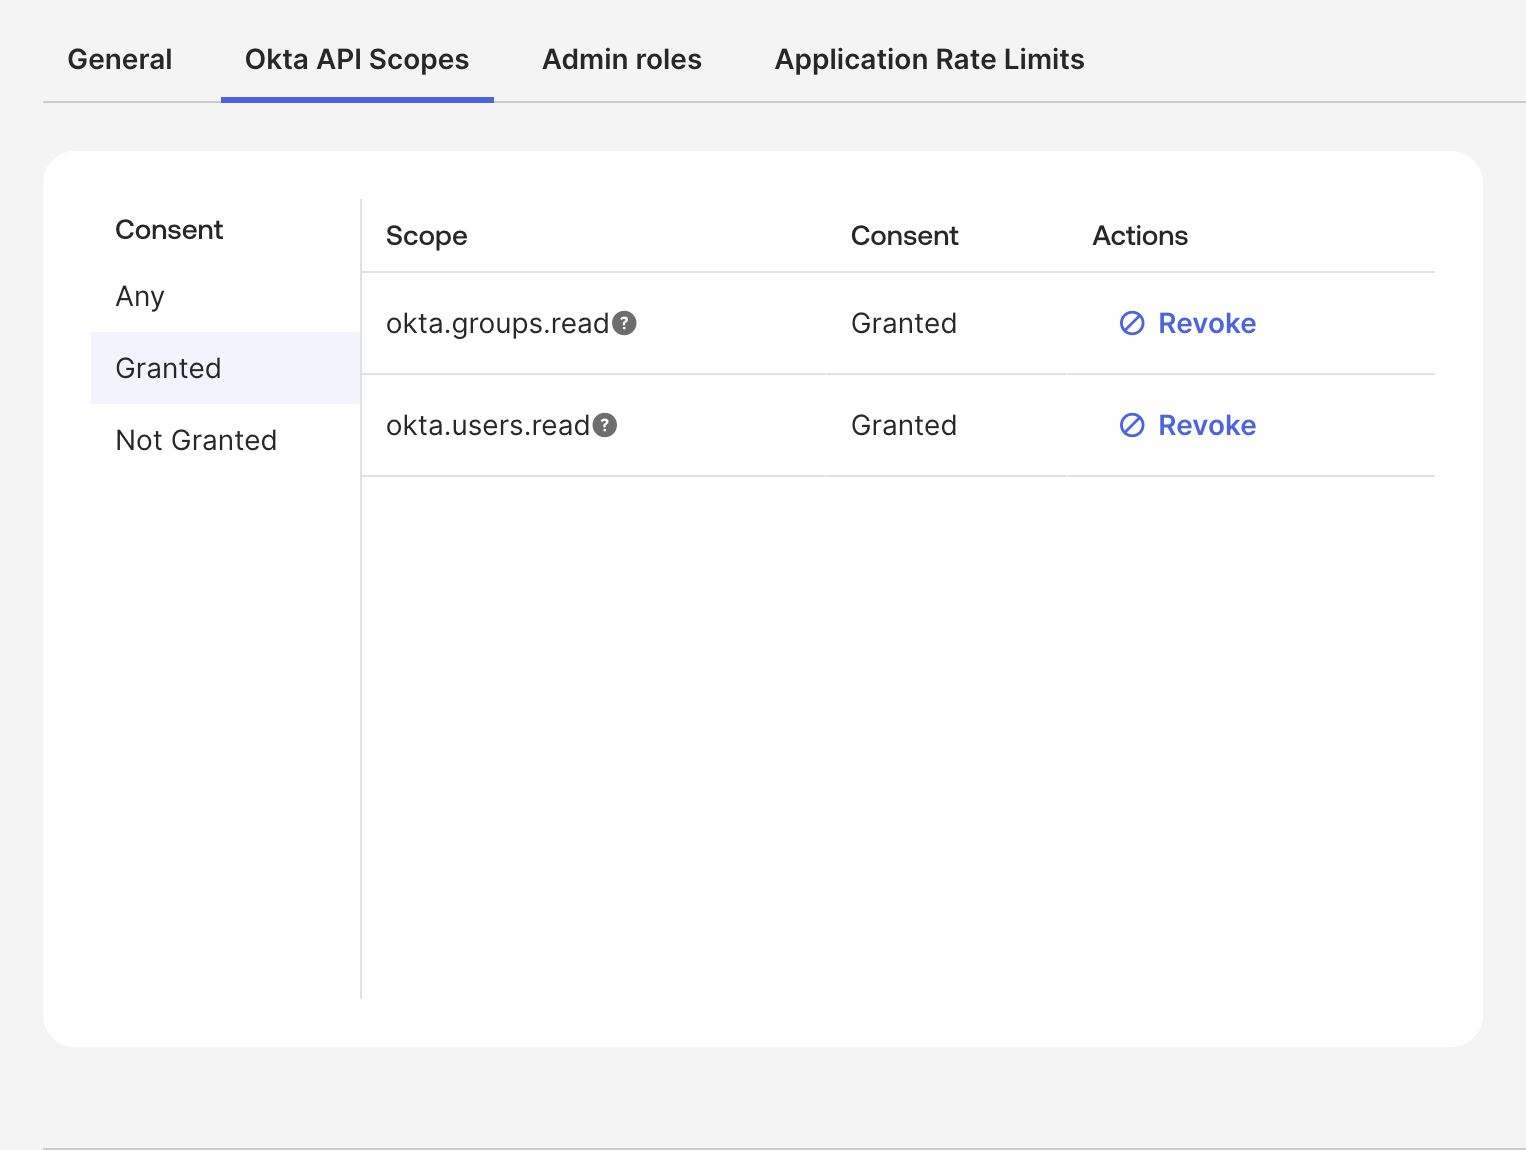
## 4. Grant the read scopes
On the **Okta API Scopes** tab, grant **okta.users.read** and **okta.groups.read**
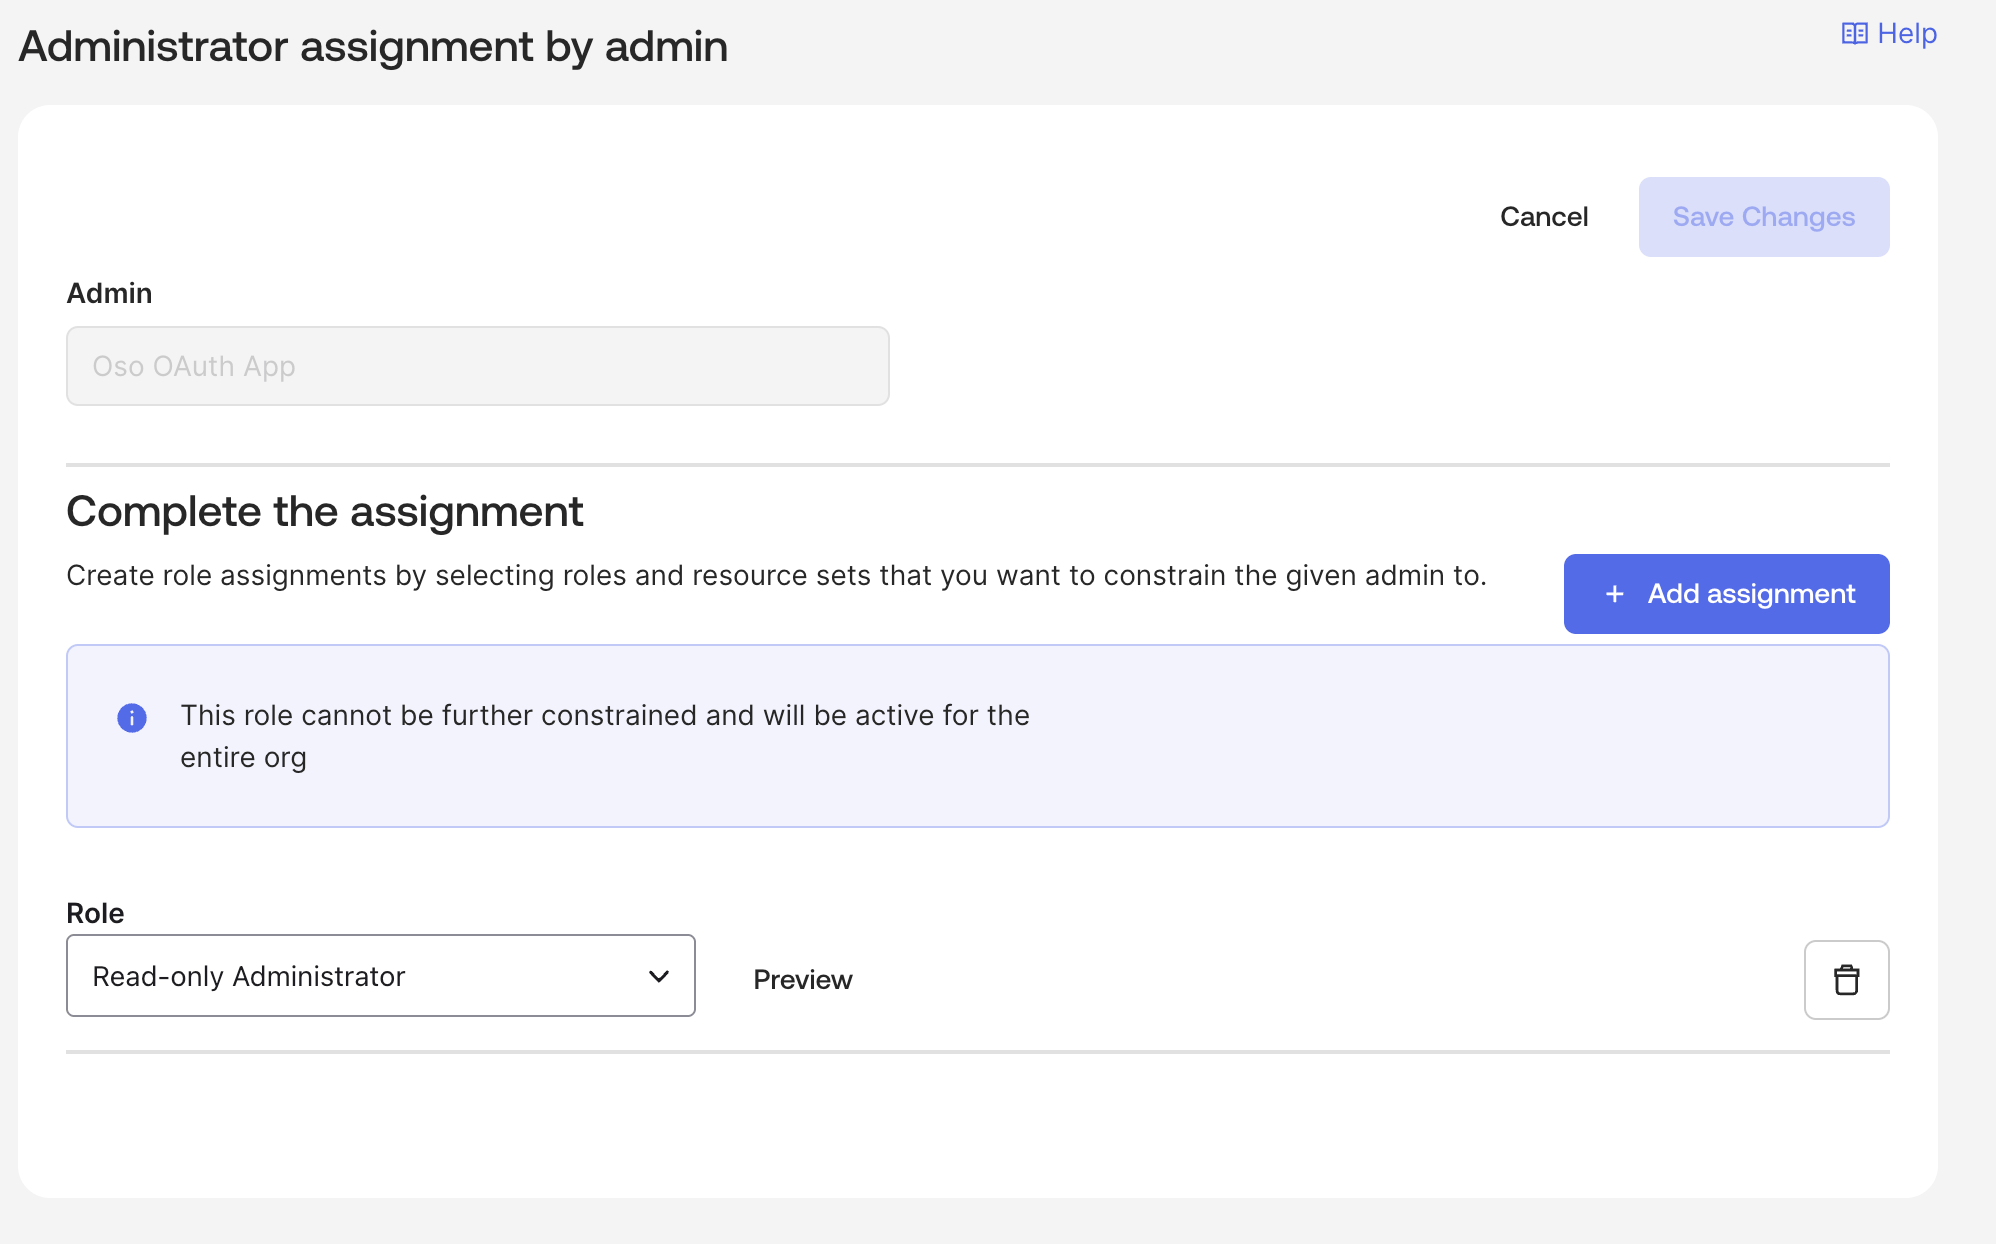
 ## 5. Assign an admin role
On the **Admin roles** tab, choose **Edit assignments** and assign **Read-only Administrator**
## 5. Assign an admin role
On the **Admin roles** tab, choose **Edit assignments** and assign **Read-only Administrator**
 ## 6. Connect from Oso
Head back to the **Connect Okta** dialog:
* **Okta org URL** — your Okta domain, e.g. `acme.okta.com`
* **Client ID** — from the app's General tab.
Click **Connect**.
# Self-Hosted
Two things differ for self-hosted deployments:
1. You bring your own signing keypair. Oso Cloud generates and rotates the Okta signing key for you; self-hosted does not. Before connecting:
1. Generate an RSA keypair: `openssl genrsa -out okta-idp-key.pem 2048`
2. Give `carpincho` — the background service in your self-hosted stack that runs this sync — the private half via `OKTA_JWT_PRIVATE_KEY`:
## 6. Connect from Oso
Head back to the **Connect Okta** dialog:
* **Okta org URL** — your Okta domain, e.g. `acme.okta.com`
* **Client ID** — from the app's General tab.
Click **Connect**.
# Self-Hosted
Two things differ for self-hosted deployments:
1. You bring your own signing keypair. Oso Cloud generates and rotates the Okta signing key for you; self-hosted does not. Before connecting:
1. Generate an RSA keypair: `openssl genrsa -out okta-idp-key.pem 2048`
2. Give `carpincho` — the background service in your self-hosted stack that runs this sync — the private half via `OKTA_JWT_PRIVATE_KEY`:
`export OKTA_JWT_PRIVATE_KEY="$(cat okta-idp-key.pem)"`
3. Register the public half on your Okta app in step 2 (as a JWK). This replaces "paste the Oso public key from the dialog" — self-hosted builds don't display Oso Cloud's key in the Connect dialog.
2. Sync runs from your own network. In Oso Cloud, calls to Okta come from Oso's servers; self-hosted, `carpincho` makes them from your infrastructure. Ensure it can reach https\://\.okta.com, and if your Okta org restricts API access by network zone or IP allowlist, allow your self-hosted egress address.